
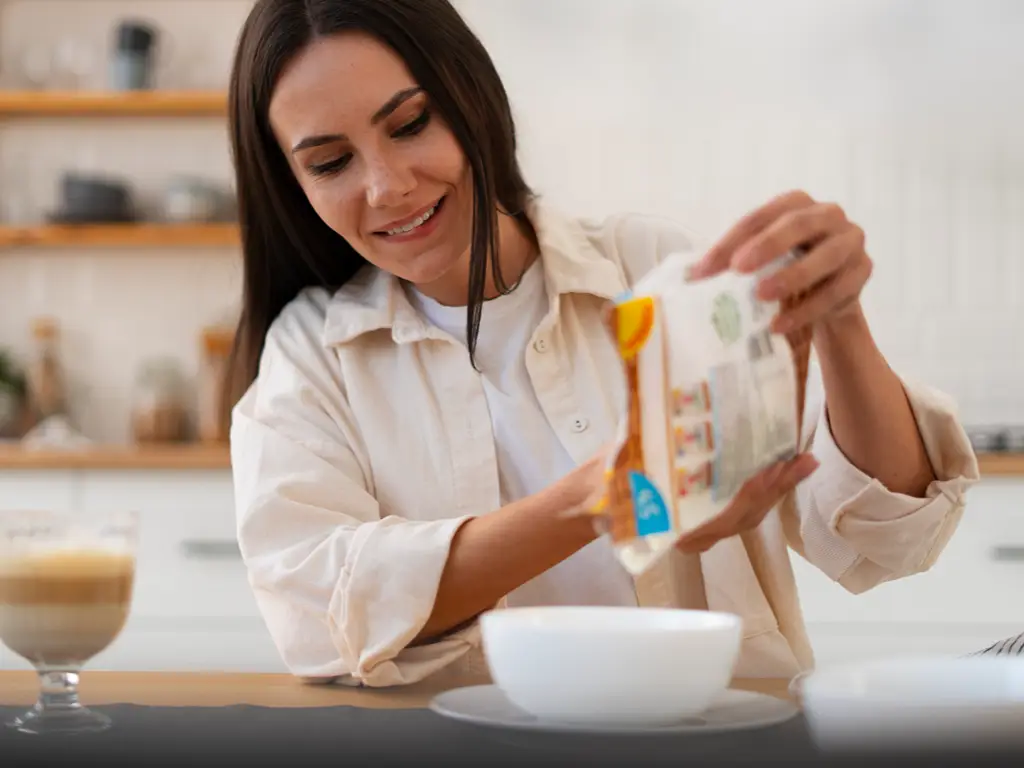
You filled the pouches. Now the top is open and the zipper is in the way. If you need to know how to seal a stand up pouch after filling, the short answer is: leave headspace, clean the seal zone, close the zipper, and heat-seal the flat band above it and below the tear notch. The same sequence explains how to seal stand up pouches consistently across a batch. Start with the operating steps, then match the heat, pressure, and dwell time to the film and the pouch’s factory-made seams.
How to Seal a Stand Up Pouch, Step by Step
Fill first, but not all the way. Stop at roughly 75–80% of the pouch. That keeps crumbs and powder out of the seal zone and leaves flat film to work with at the top. A powder-dusted seal area is one of the most common causes of a weak seal.
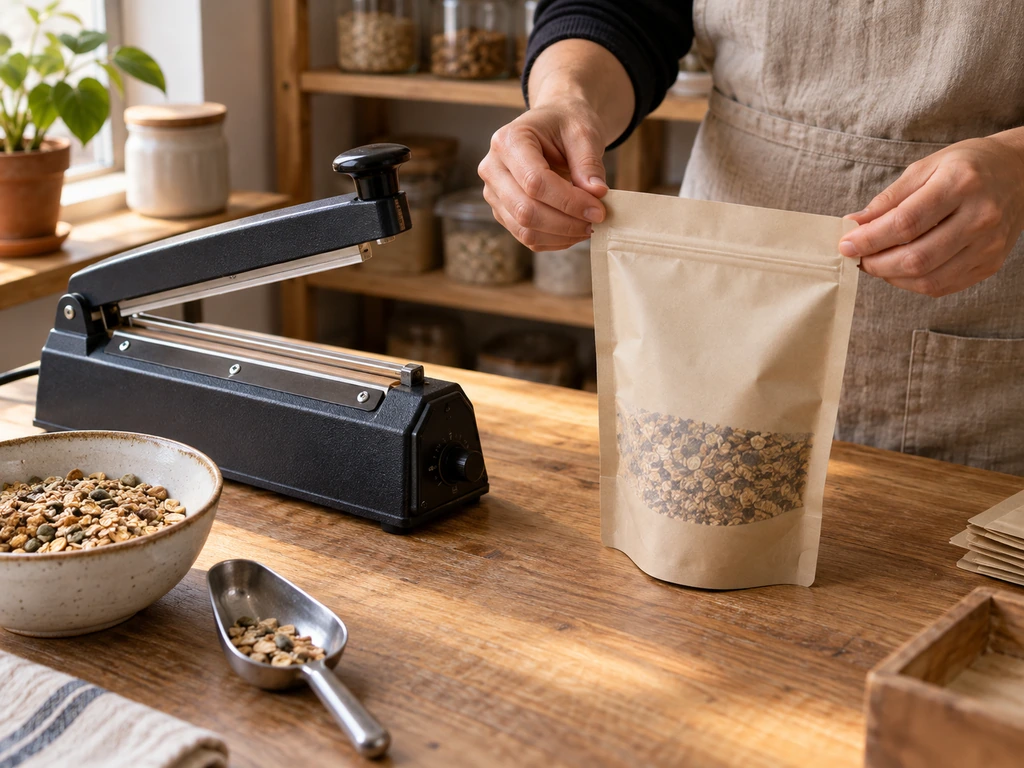
Then run the sequence below, top to bottom:
The 7-Step Sealing Sequence
- 1Close the zipper fully. It must sit flat, or it will print a channel through your seal.
- 2Press excess air out gently from the bottom up.
- 3Position the bag. The sealing jaw goes above the zipper, below the tear notch.
- 4Check the zone. Film only, no product, no wrinkles, no gusset folds caught in the jaw.
- 5Seal. Start with the equipment maker’s recommended time; many impulse sealers need a short 1–3 second press, while a household iron needs a longer, firm hold with the bag flat on a hard surface.
- 6Let it cool before you touch it. A hot peel is a failed seal.
- 7Tug-test one bag in ten, pulling hard at both ends of the seal line.
If you don’t have a sealer yet, three household methods work for dry products:
| Method | Best for | Where it goes wrong |
|---|---|---|
| Clothes iron (medium heat, baking paper between) | Flat, dry-filled pouches, a few at a time | Steam setting and high heat melt through film; wet or liquid contents are a hard no |
| Hair straightener | Narrow tops, quick reseals | Only seals a short width; slow on batch work |
| Handheld sealing stick | Camping-style portion bags | Weak on thick laminates; inconsistent pressure |
None of these belong on a commercial batch that has to survive shipping. They’re for sampling, market-day quantities, and learning how a correct weld feels, which is the fastest way to notice when a real sealer starts misbehaving.
What Heat Sealing Actually Does
A heat seal is a weld, not a staple. The inner layer of the pouch melts under heat and pressure, and after a short dwell the two layers fuse into one continuous strip. Take away any of the three (heat, pressure, time) and you get a strip that looks sealed but peels open with a fingernail.
Machines differ in how they deliver those three inputs. An impulse sealer sends a burst of current through a nichrome wire, seals for a second or two, and cools immediately. It needs no warm-up and only draws power during the pulse. A constant heat sealer keeps its jaw hot the whole time, so it can feed energy into thicker, harder-to-melt structures that a pulse can’t fully fuse. Household workarounds like an iron or a hair straightener are manual versions of the same weld.
The zipper and the heat seal do different jobs. The zipper handles daily opening and closing after purchase. The heat seal above it handles transit, tamper evidence, and shelf life. You close the zipper for the customer; you seal above it for the journey.
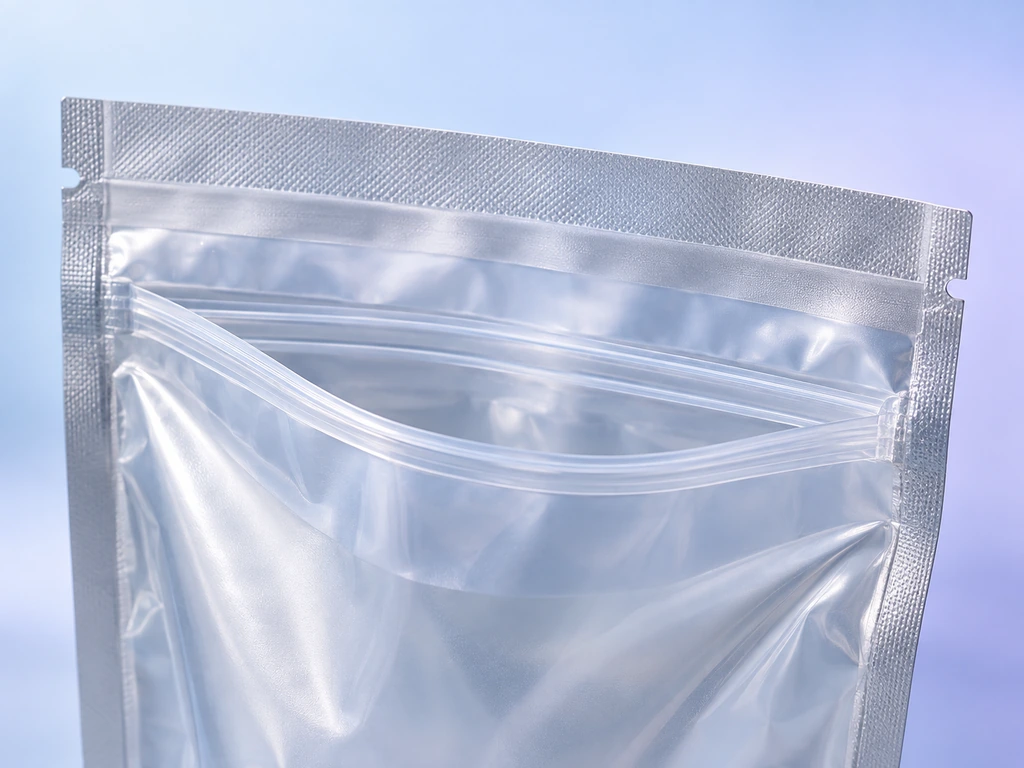
Your top closure is only the final seal. During pouch production, the converter has already heat-welded the side seams and bottom gusset. Those factory seals rely on the same balance of heat, pressure, and dwell time, but must also handle extra film layers at folds and corners. A good top seal cannot rescue a weak side or bottom seam, so reliable filling closure begins with a pouch that was sealed and tested correctly at the factory.
Why Your Seal Fails: Film Structure and Factory Seams Come First
The same sealer can close one pouch perfectly and skate uselessly over the next. The difference is almost never brand or wattage. It’s what the pouch’s inner layer is made of. Only the sealant layer melts; everything else in the laminate either helps or gets in the way.
⭐ PE-sealant laminates: the default that mostly just works
Most stand up pouches on the market end in a polyethylene sealant layer; a structure like MOPP/VMPET/PE is typical. PE softens at low temperatures. Independent materials references put usable PE seal formation in the low-to-mid 100s °C, with seal strength climbing steeply through the 100–125°C window (ScienceDirect, n.d.). A desktop impulse sealer handles these comfortably. If your bags are this type and they seal badly, look at pressure, dwell, and contamination before you blame the machine.
Foil-barrier laminates: where weak impulse sealers go to fail
Add an aluminum layer (PET/AL/PE) and the math changes. The foil blocks heat the way it blocks oxygen, so the pulse can’t push enough energy through to the sealant layer in a second or two. The common advice follows from this: constant heat sealers handle thicker films, Mylar, and foil packaging, while impulse sealers suit standard polyethylene and polypropylene bags (PAC Machinery, n.d.). Cranking an impulse dial to maximum doesn’t fix it; you get hot outer film and a cold, unsealed inner layer.
Kraft laminates: the heat goes into the paper
Kraft-paper pouches look rustic and seal differently. The paper outer layer soaks up energy before it reaches the sealant, so kraft/PE and kraft/AL/PE structures need longer dwell or constant heat to complete the same weld. If you love the paper look, plan for the sealer that matches it. This is a purchase-time trade-off, not a production-time surprise.
Mono-material recyclable structures: a narrow window
Recyclable all-PE structures are growing for sustainability reasons, and they seal, but only within a tight window. The same layer that seals is also the body of the film, so a few degrees too hot wrinkles or shrinks the pouch top. These bags reward a sealer with stable, repeatable settings and punish trial-and-error.
The pattern across all four: film structure sets the energy your seal needs, and the equipment either delivers it or doesn’t.
| Film structure | Starting direction | Dwell character | Sealer that fits |
|---|---|---|---|
| PE-sealant laminate (e.g. MOPP/VMPET/PE) | Low temperature, start conservative | Short pulse | Desktop impulse |
| Foil-barrier laminate (e.g. PET/AL/PE) | Higher energy than impulse delivers | Sustained | Constant heat / band sealer |
| Kraft laminate (kraft/PE, kraft/AL/PE) | Compensate for paper absorption | Longer dwell | Constant heat preferred |
| Mono-material recyclable (all-PE) | Narrow window, repeatable settings matter | Precise short cycle | Quality impulse with stable settings |
One caveat ties this section together: there is no universal heat-seal temperature for a flexible pouch. The right setting depends on the sealant layer, the full film construction, thickness, jaw design, dwell, pressure, and product contamination. Treat the table above as a starting direction, then validate the process window on your own bags rather than relying on a single temperature printed on a generic spec.
Structure explains the “sometimes it seals” mystery. The other half of the mystery is position.
Where to Seal: The Three Zones at the Top of the Pouch
A stand up pouch top is not one flat strip. It’s three functional zones stacked within a couple of centimeters, and sealing the wrong one, or the seam between two, is the second big source of failures.
The main seal zone
This is the band of plain film where your sealer belongs: above the zipper, below the tear notch. The width of that band is set at the factory. On a typical production spec sheet you’ll find seal bands in the 7–9mm range, sized so a standard sealing jaw has room to work. Keep your seal inside that band, not straddling its edges.
The zipper zone
The zipper is several layers of ridged plastic sitting exactly where you’re tempted to seal. It can’t go under a sealing jaw: the ridges stack thickness, the material doesn’t flow like film, and the result is a false seal that leaks on contact. Seal above it, not through it. On a typical spec the zipper sits 30–35mm below the top edge. That’s your working room, so measure yours before your first seal, not after your first leak.
Never run a sealing jaw over the zipper. You get a false seal plus a damaged zipper in one pass. Find the zipper’s top edge with your fingers, then seal 5–10mm above it.
The gusset folds: why the corners leak
The side gussets fold flat at the top corners, which means the jaw closes on two or three plies of film there instead of one. Thicker stack, same energy: the fold is the last place to seal and the first place to fail. Operators who fight leaky corners fix it two ways. Keep the fold lines out of the jaw by sealing slightly inside them, or give the corners a brief second pass after the main seal. A corner that survives a firm two-handed tug is done.
The tear notch matters here too. It sits about 15mm from the top on a typical spec, and your seal must stay below it, or customers can’t open the bag as designed.
Stack the failure modes against their causes and the whole system becomes diagnosable:
| Symptom | Most likely cause layer | What to check first |
|---|---|---|
| Won’t seal at all | Material | Foil or kraft structure on an impulse sealer? (film structure, section above) |
| Seals but peels open | Material + process | Sealant layer type; dwell too short; temperature too low |
| Wrinkled seal, slow leak | Operation | Product or a fold caught in the jaw; overfilled pouch; jaw misaligned |
| Corners leak | Geometry | Gusset plies in the jaw; no corner re-pass |
| Zipper melted or blocked | Geometry | Jaw positioned over the zipper instead of above it |
Three of the five rows trace back to geometry you can see with your eyes. The other two trace back to the bag’s construction, which you chose, or didn’t, when you ordered the pouches.
Matching the Sealer to Your Volume
Hand sealing a 50-bag batch is a weekend chore. Hand sealing a 5,000-bag batch is a business decision, and the equipment ladder follows the arithmetic.
| Volume band | What fits | Where it hurts |
|---|---|---|
| Up to ~100/day | Desktop impulse, hand filling | Cheap to start; fatigue and inconsistency creep in fast |
| Hundreds/day | Wider impulse or double impulse; better workflow | Repetitive strain; seal quality varies with operator |
| 1,000+/day | Continuous band sealer | Capital cost; but consistent hermetic seals at conveyor speed |
| Order fulfillment at scale | Contract filling and sealing | Margin share; but no equipment on your books |
A band sealer is the workhorse of that third row: it pulls each pouch through heated bands on a conveyor, so pressure and temperature stop depending on your wrist. Commercial units handle bags from a couple of ounces up to 110 pounds, including the foil and gusseted stand-up pouches that defeat hand sealers (Tinsley Company, n.d.). The upgrade signal isn’t a magic daily count. It’s the moment your bottleneck is the sealing step rather than the filling step, or when tug-test failures cluster at the end of long shifts.
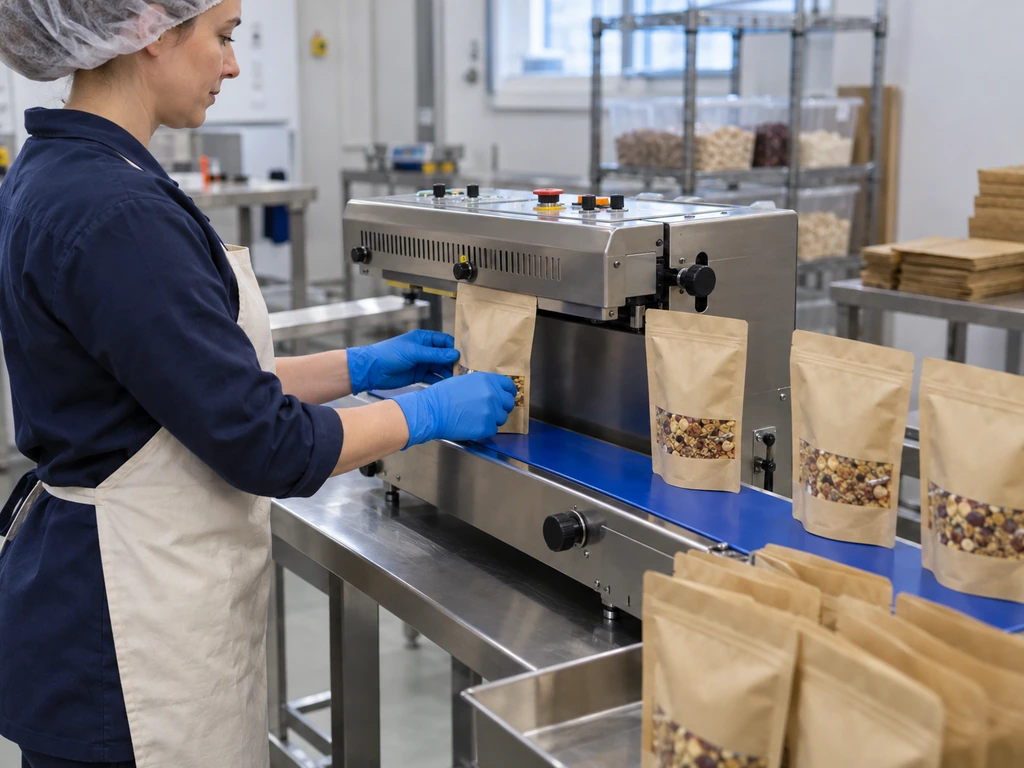
Before you buy, price the exit. Contract filling makes sense when your per-bag labor in sealing exceeds a co-packer’s margin, or when seal-failure rework grows with volume instead of shrinking. And if your failures trace back to film structure, the foil-on-impulse problem, no machine purchase fixes the root cause.
Whatever runs the seal, one habit scales with you: pull-test bags from every batch, and keep a simple log. When a supplier’s bag seals differently from the last carton, your log is the evidence that moves the conversation.
Seal-test before you commit. We can send stock samples so you can run the tug-test on the actual film with your own machine.
Order Free Stock SamplesWhich raises the question the log can’t answer: what should you have demanded from the supplier in the first place?
The Specs That Decide Seal Quality Before You Buy
Half of your seal quality is decided before the pouches ship. The film structure, the seal-band width, the zipper height, the tear-notch position — these are line items on a spec sheet. Once you know them, they become negotiable, verifiable terms instead of surprises at your sealing table.
For a concrete reference, our typical factory spec sheet lists a 100-micron MOPP/VMPET/PE laminate, 7–9mm side and bottom seals, a tear notch 15mm from the top, and a 13mm-wide zipper set 30–35mm below the top edge. Every item changes how the pouch runs on your sealer, so ask your supplier to confirm each one before you order.
Half of your seal quality is decided before the pouches ship. The other half is decided at your sealing table.
Put the four spec lines on your next purchase order:
The Purchase-Order Checklist
- Sealant layer: what is the innermost film, and how thick is the total laminate?
- Seal-band width: how many millimeters wide is the factory seal, top and sides?
- Zipper position: how far below the top edge does the zipper sit?
- Tear-notch position: how far from the top, and does it clear your seal line?
- Arrival test: seal ten sample bags on your own equipment before releasing the batch.
Specs don’t replace verification. Bags built to a good spec can still seal badly if the process window is off, so the arrival test stays in the checklist even when the paperwork is perfect. But between a buyer who specifies these four lines and one who doesn’t, the first one’s sealing problems shrink to the ones a sealer can actually cause.
If you want to test this workflow on a small custom run, we offer digital printing from 500 pieces, free stock samples for seal testing, and a standard 7–10-working-day turnaround. Review our custom stand up pouch MOQ and specs, then compare them with the checklist above.
Put These Specs on Your Next Pouch Order
We build custom stand-up pouches to documented specs, with a 500-piece digital MOQ, free stock samples, and a standard 7–10-working-day turnaround.
Start Your Custom Pouch OrderReferences
- PAC Machinery. “The Ultimate Guide to Heat Sealing Bags.” n.d.
- ScienceDirect. “Seal Initiation Temperature—An Overview.” n.d.
- Tinsley Company. “Continuous Band Sealers—FAQs.” n.d.